Azure Notification HubsでXamarin.FormsアプリにPush通知 メモ (Android編)
このチュートリアルの通りにやってみる.
Azure Notification Hubsを使う場合の流れ
Firebase Cloud MessagingやApple Push Notification ServiceなどをAzure Notification Hubsを介して利用する形.
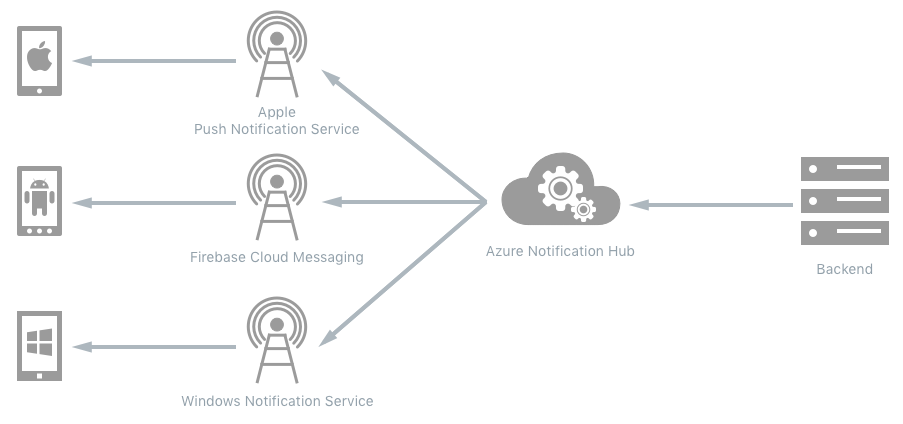
Azure Notification HubsはあくまでHubとしての役割を果たすものであって,それ単体でPush通知を行うサービスではない.
また,デバイスがPush通知を受け取ったときの処理は実装す
Xamarin.Android
ここでXamarin.Androidのチュートリアルはこちら.
Android側のFirebase Cloud MessagingとAzure Notification Hubsを使うPush通知のチュートリアルです.
Firebase Cloud Messagingプロジェクトを作成
サインインする.
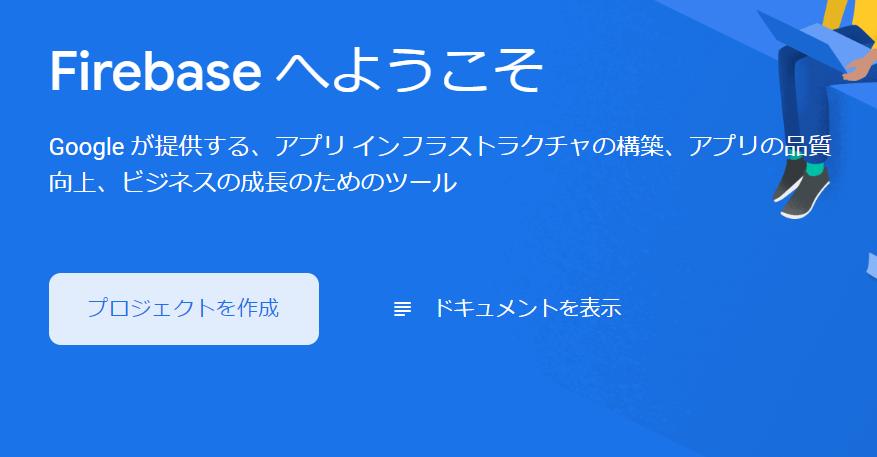
プロジェクトを作成する.
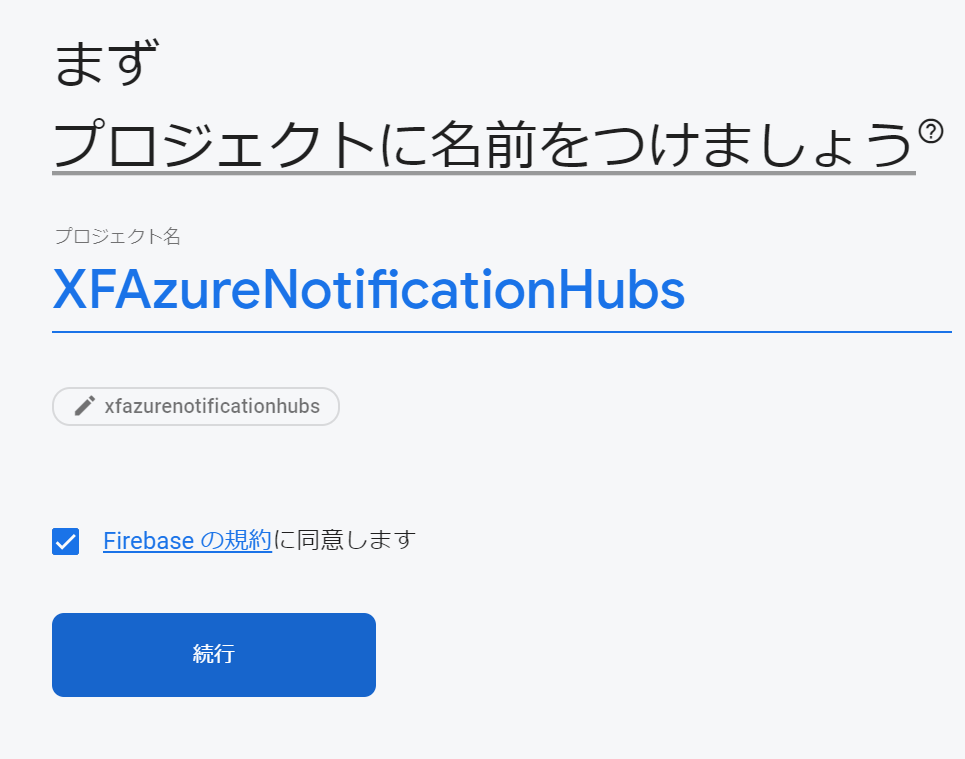
プロジェクトに名前をつける
Googleアナリティクスを有効にするか?
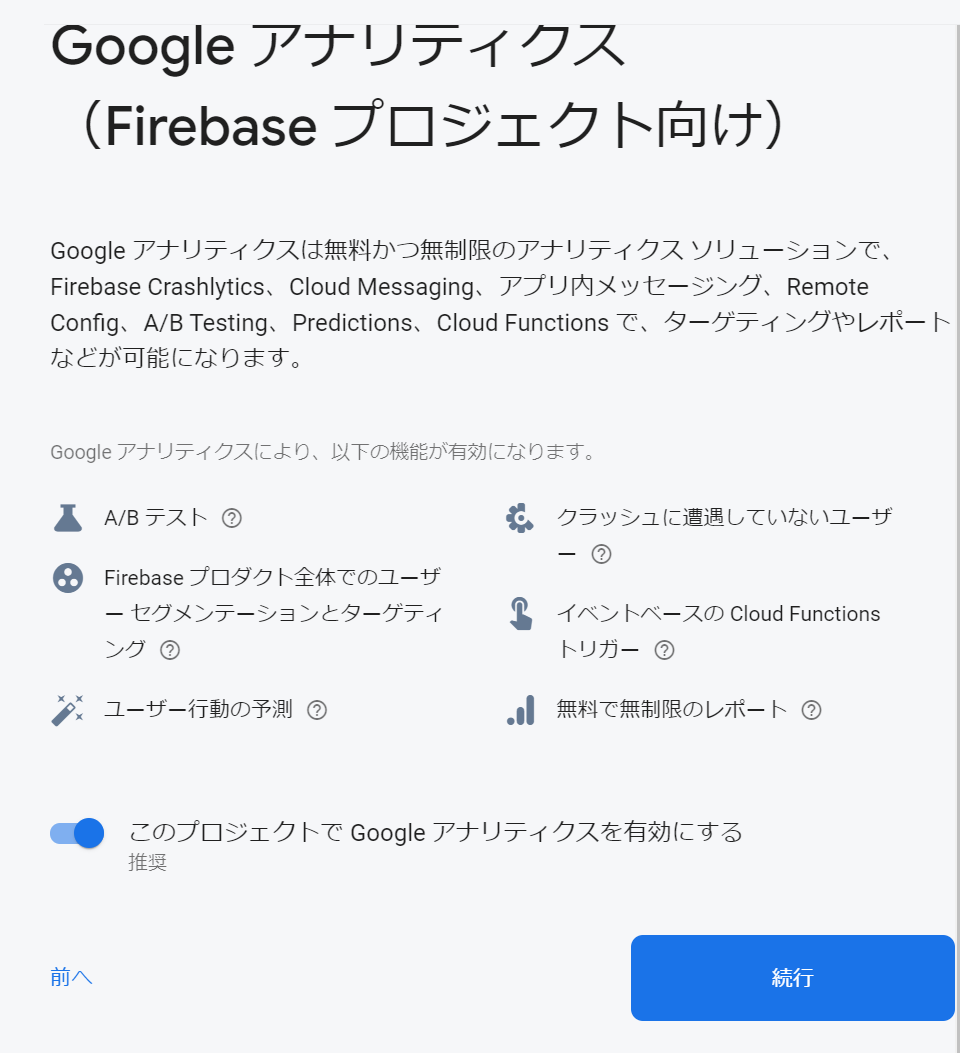
もう一つGoogleアナリティクスについて
プロジェクト作成完了
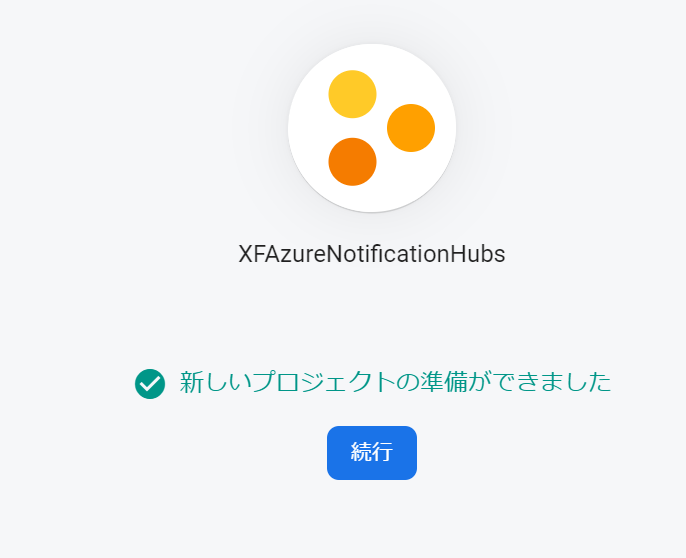
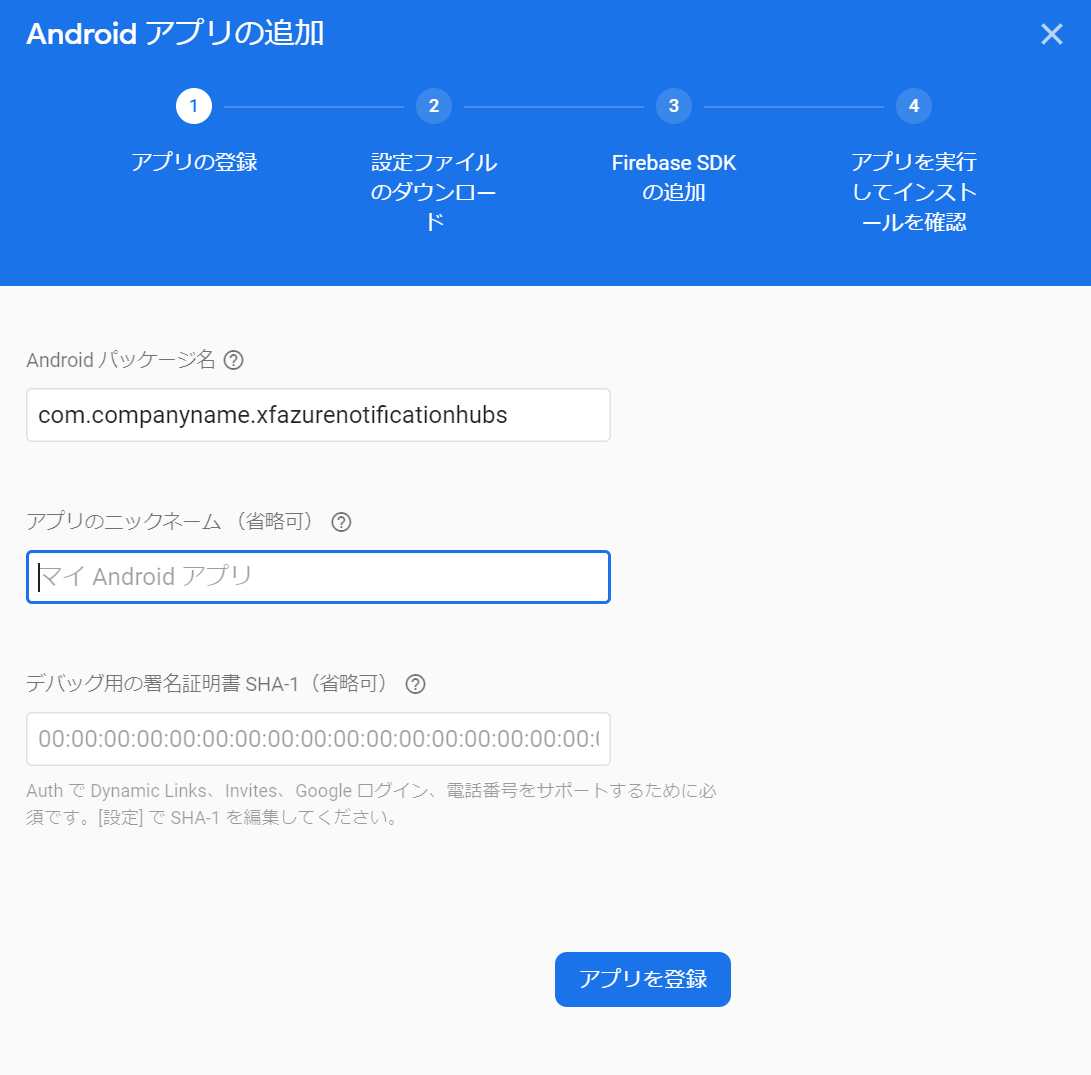
プロジェクトにAndroidアプリを追加する
プロジェクトの作成が完了すると,プロジェクトのページが表示されるのでアプリケーションを登録する.
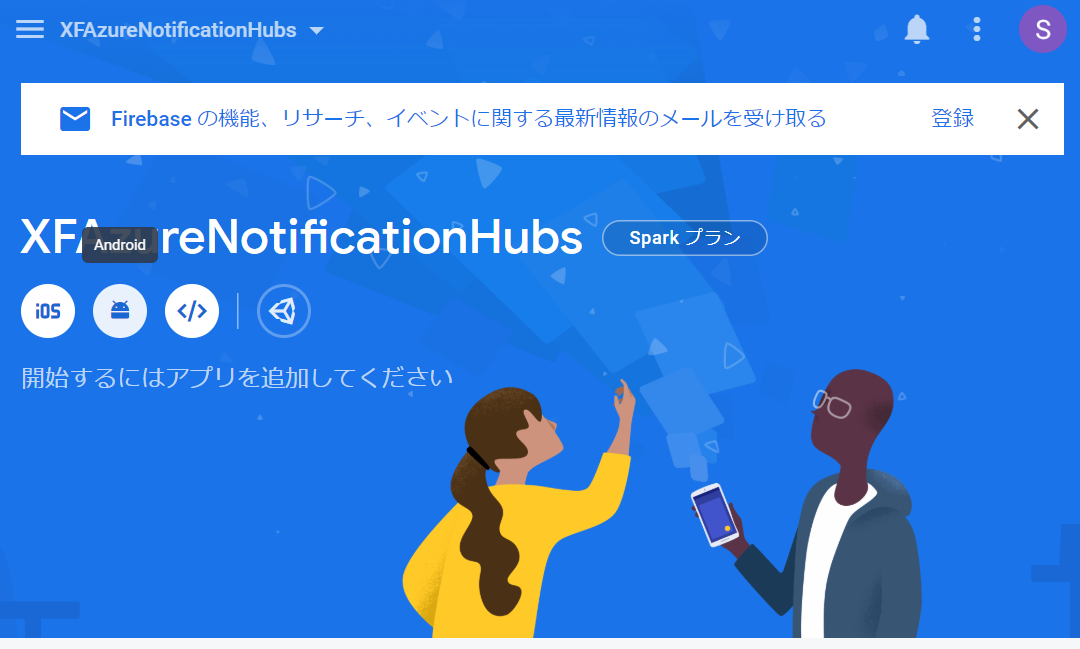
アプリの登録にはAndroidのパッケージ名が必要なので,それを先に取得しておきます.
Xamarin.FormsのAndroidプロジェクトのプロパティを開き,「Android Manifest」タブを開くとそこにPackage Nameが記述されています.
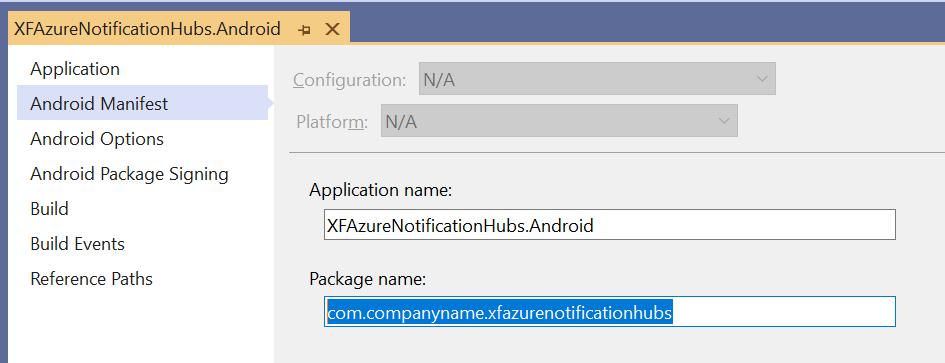
これをFirebaseのアプリ登録画面に入力します.
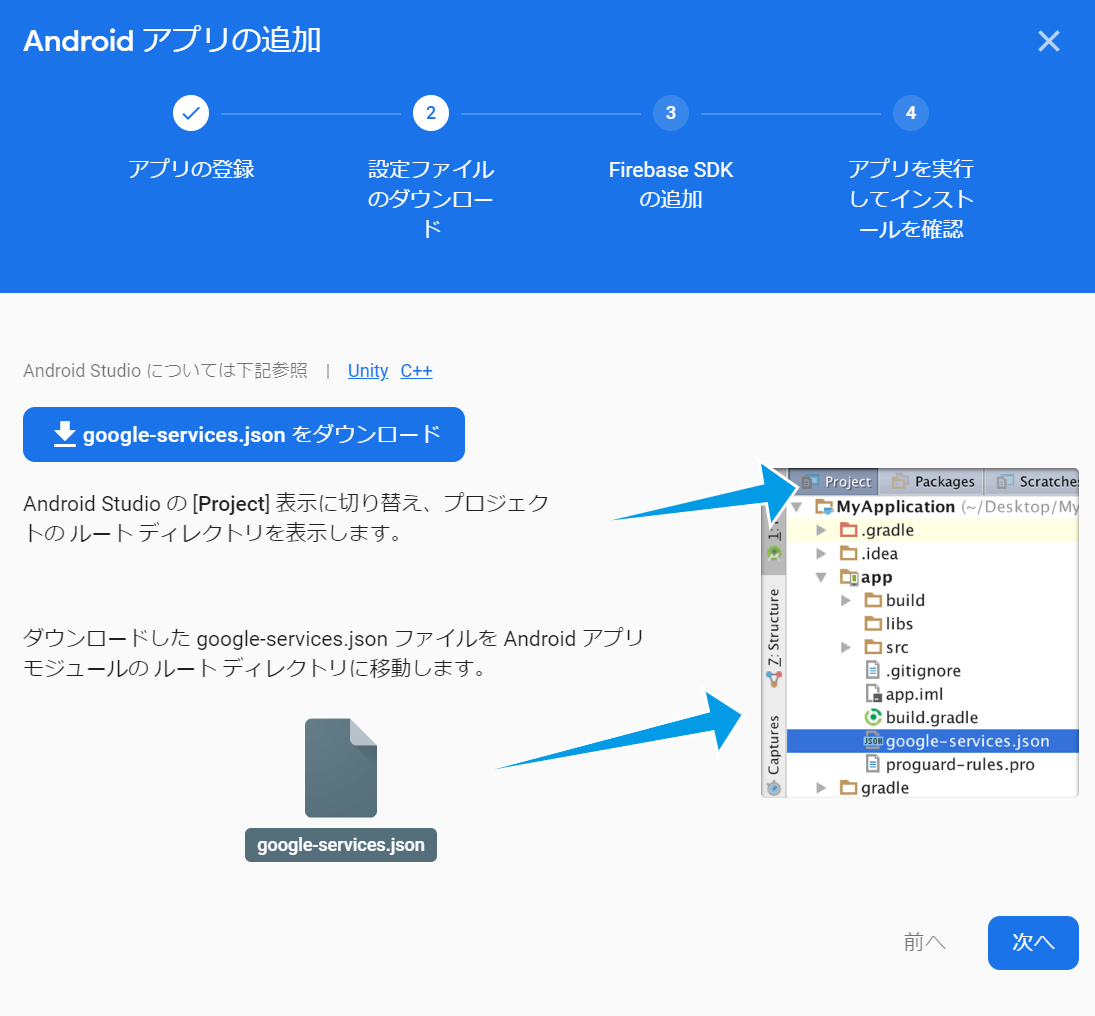
google-services.jsonファイルをダウンロードする.
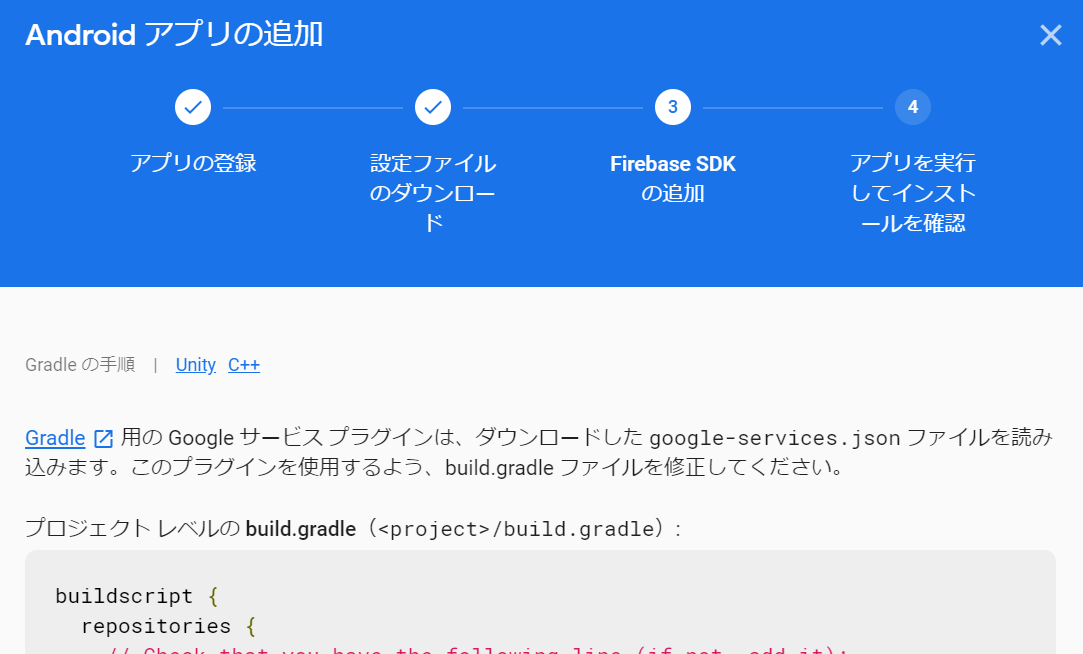
次のステップはスキップする.
次のステップもスキップする.
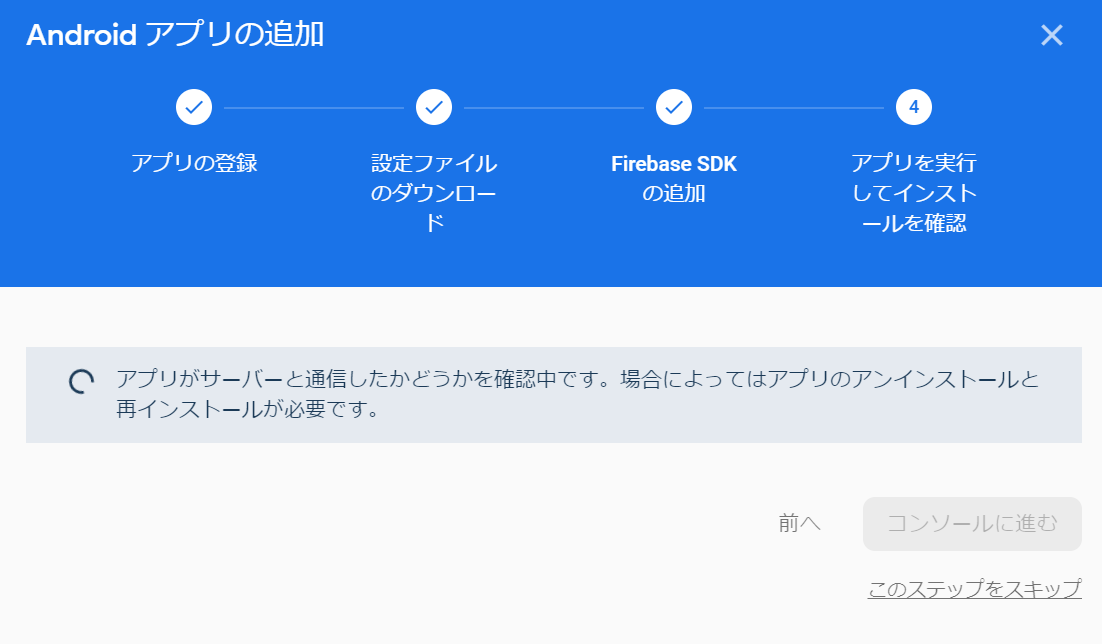
Androidアプリの追加が完了しました.
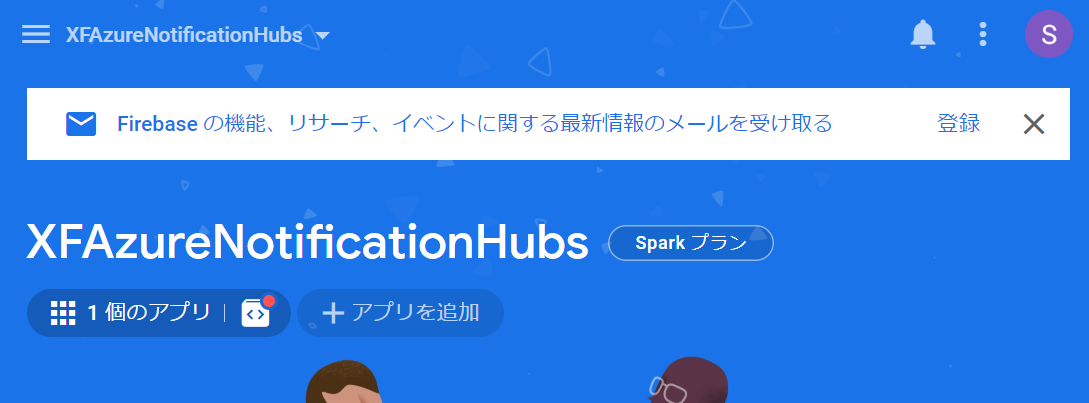
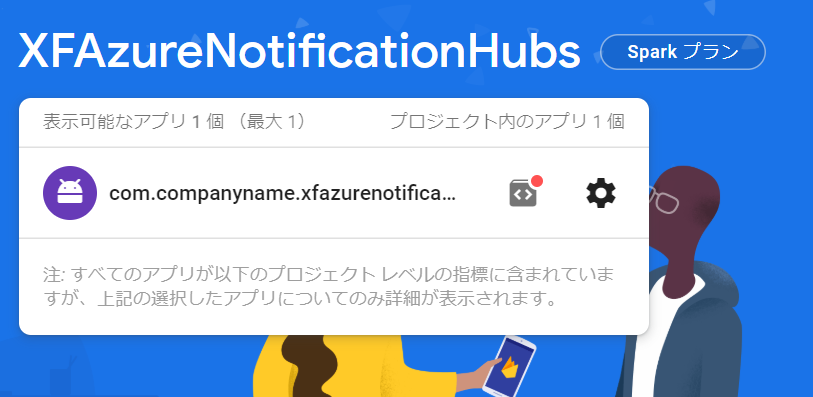
登録したアプリの設定画面を開くために「⚙」アイコンをクリックします.
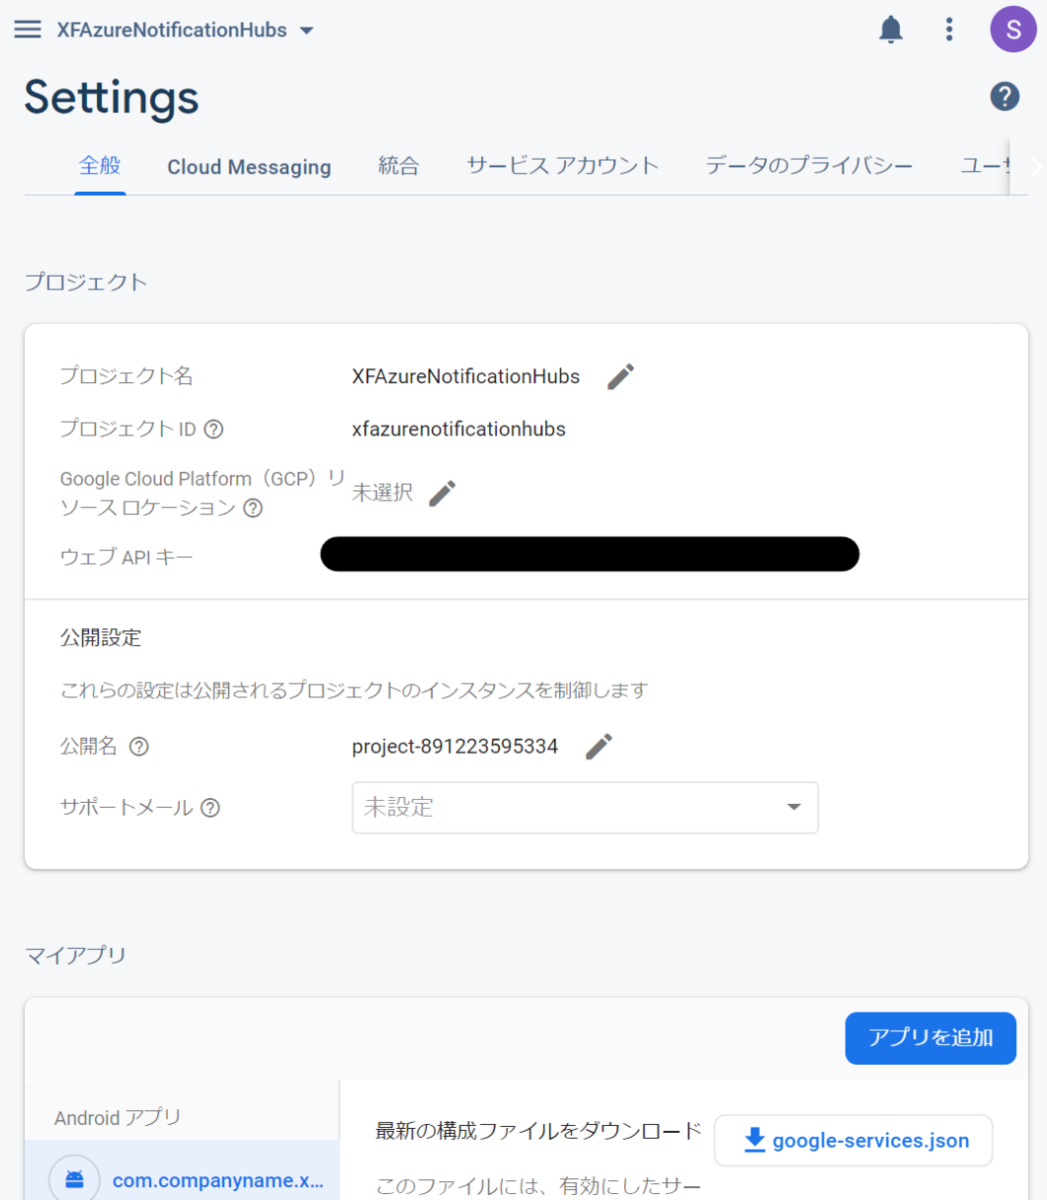
以下のような設定画面が開きます.
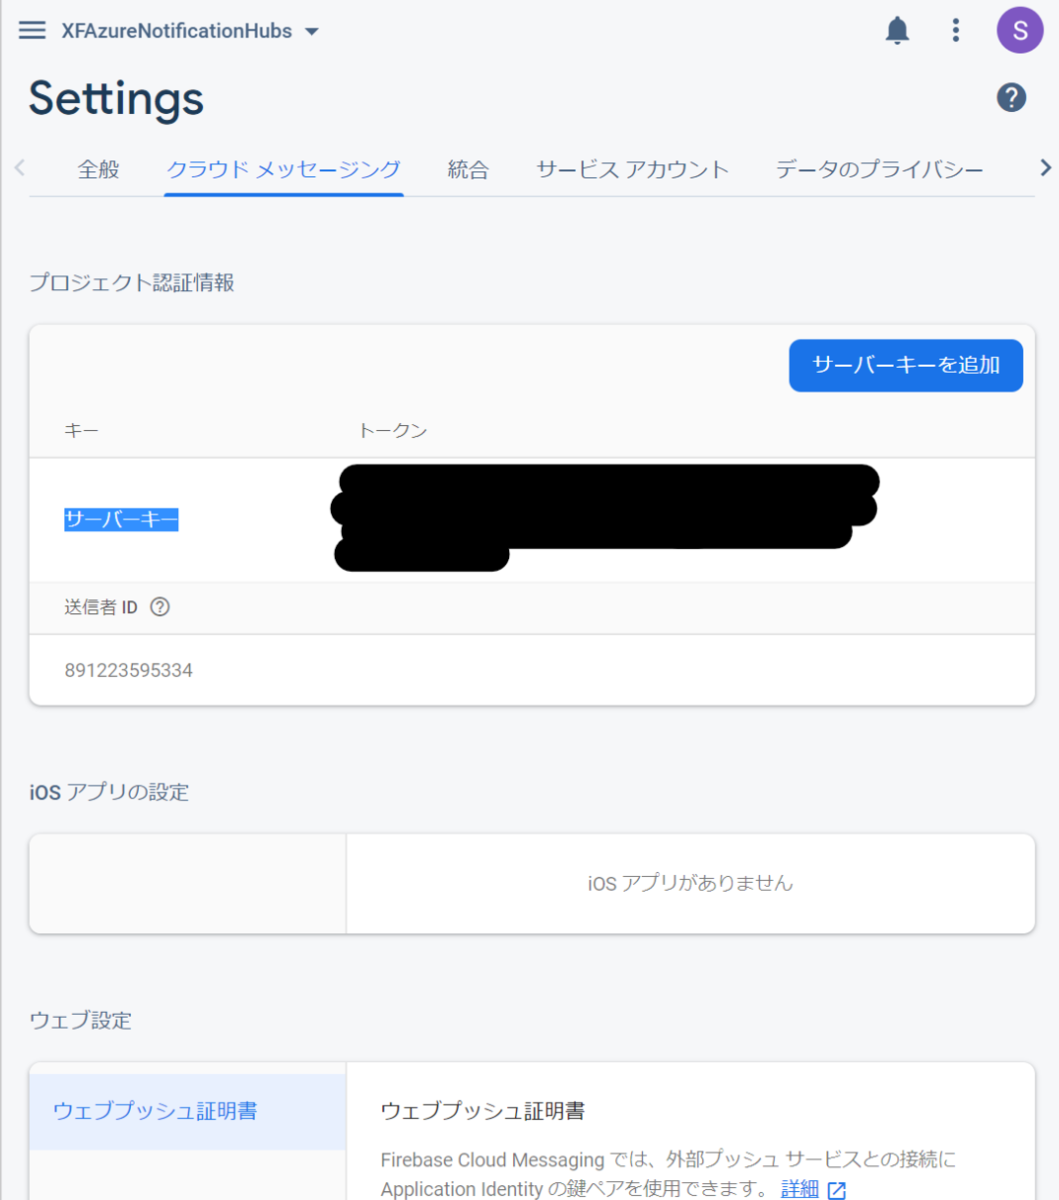
「クラウドメッセージング」タブを開いて「サーバーキー」をコピーします.
Azure Notification Hubsの作成
Azure Portalに移動する. portal.azure.com
「Notification Hub」リソースを作成する.

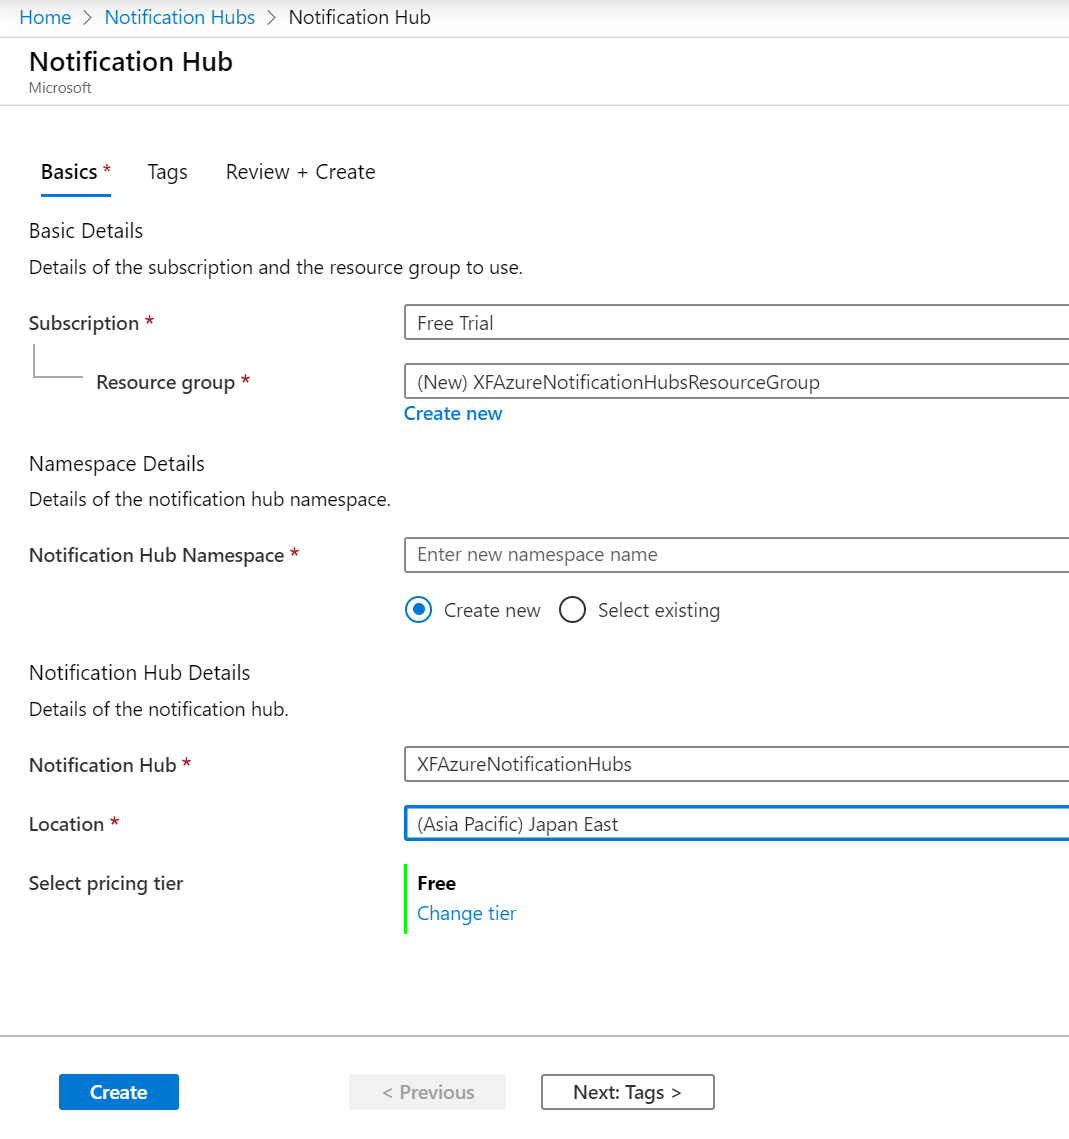
「Add」ボタンを押してNotification Hubを作成する.

以下のように項目を埋めて「Create」ボタンを押す.無料プランがあるので選んでおくこと.
リソースの作成が完了したらリソースに移動する.
左側のブレードから「Access Policies」を選択する.
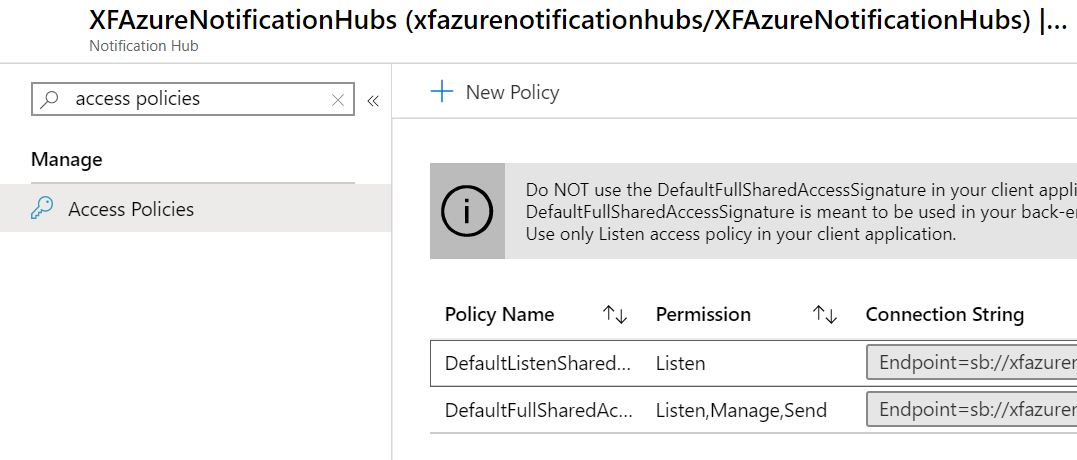
ここでConnection Stringが2つ表示されるが,DefaultFullSharedAccessSignatureは使わないこと.こちらはバックエンドのサーバーアプリでのみ使用すること,とのこと.
Do not use the DefaultFullSharedAccessSignature policy in your application. This is meant to be used in your back end only.
Connection Stringは後で使う.
今度は左側のブレードから「Google(GCM/FCM)」を選択する.

ここの「API Key」の欄に,Firebaseの方の「サーバーキー」をコピペして「Save」ボタンを押す.
Visual Studio
今度はVisual Studio側の設定です.Xamarin.Formsプロジェクトを作成しておきます.
Nugetパッケージをインストールする
インストールするのは以下の3つのパッケージ.
- Xamarin.GooglePlayServices.Base
- Xamarin.Firebase.Messaging
- Xamarin.Azure.NotificationHubs.Android
Androidプロジェクトで右クリックしてManage Nuget Packagesを選択してインストールを行う.
google-services.jsonファイルを追加する
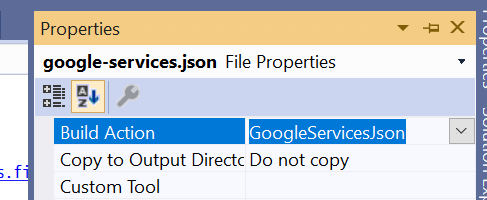
ダウンロードしておいたgoogle-services.jsonファイルをAndroidプロジェクトに追加する.
そして,Build ActionをGoogleServicesJsonに設定する.
AndroidManifest.xmlの編集
以下のように追加します.
<?xml version="1.0" encoding="utf-8"?>
<manifest xmlns:android="http://schemas.android.com/apk/res/android" android:versionCode="1" android:versionName="1.0" package="com.companyname.xfazurenotificationhubs">
  <uses-sdk android:minSdkVersion="21" android:targetSdkVersion="28" />

  <!-- 追加ここから 1-->
  <uses-permission android:name="android.permission.INTERNET" />
  <uses-permission android:name="com.google.android.c2dm.permission.RECEIVE" />
  <uses-permission android:name="android.permission.WAKE_LOCK" />
  <uses-permission android:name="android.permission.GET_ACCOUNTS"/>
  <!-- ここまで -->

  <application android:label="XFAzureNotificationHubs.Android">

    <!-- 追加ここから 2-->
    <receiver android:name="com.google.firebase.iid.FirebaseInstanceIdInternalReceiver" android:exported="false" />
    <receiver android:name="com.google.firebase.iid.FirebaseInstanceIdReceiver" android:exported="true" android:permission="com.google.android.c2dm.permission.SEND">
      <intent-filter>
        <action android:name="com.google.android.c2dm.intent.RECEIVE" />
        <action android:name="com.google.android.c2dm.intent.REGISTRATION" />
        <category android:name="${applicationId}" />
      </intent-filter>
    </receiver>
    <!-- ここまで -->

  </application>
  <uses-permission android:name="android.permission.ACCESS_NETWORK_STATE" />
</manifest>
接続情報を保持するクラスを作成する
Constants.csファイルを共有プロジェクトに追加し,以下の情報をAzureから取得して保持するようにする.
この情報はAndroid,iOSの両方から使う.
- Listen connection string
- hub name
    public static class Constants
    {
        public const string ListenConnectionString = "<DefaultListenSharedAccessSignature from Azure>";
        public const string NotificationHubName = "<Hub Name from Azure>";
    }
MainActivity.csの編集
MainActivity.csに以下usingを追加する.
using Android.Util;
using Android.Gms.Common;
次はMainActivityクラス内に以下を追加する.
public const string TAG = "MainActivity";
internal static readonly string CHANNEL_ID = "my_notification_channel";
MainActivityクラス内に次のメソッドを追加する.これはGoogle Play Serviceが有効かどうかを確認するためのもの.
public bool IsPlayServicesAvailable()
{
    int resultCode = GoogleApiAvailability.Instance.IsGooglePlayServicesAvailable(this);
    if (resultCode != ConnectionResult.Success)
    {
        if (GoogleApiAvailability.Instance.IsUserResolvableError(resultCode))
            Log.Debug(TAG, GoogleApiAvailability.Instance.GetErrorString(resultCode));
        else
        {
            Log.Debug(TAG, "This device is not supported");
            Finish();
        }
        return false;
    }

    Log.Debug(TAG, "Google Play Services is available.");
    return true;
}
更に,MainActivityクラス内にNotification Channelを作成するメソッドを追加する.
private void CreateNotificationChannel()
{
    if (Build.VERSION.SdkInt < BuildVersionCodes.O)
    {
        // Notification channels are new in API 26 (and not a part of the
        // support library). There is no need to create a notification
        // channel on older versions of Android.
        return;
    }

    var channelName = CHANNEL_ID;
    var channelDescription = string.Empty;
    var channel = new NotificationChannel(CHANNEL_ID, channelName, NotificationImportance.Default)
    {
        Description = channelDescription
    };

    var notificationManager = (NotificationManager)GetSystemService(NotificationService);
    notificationManager.CreateNotificationChannel(channel);
}
MainActivity.cs内のOnCreateメソッド内で,base.OnCreate(savedInstanceState);の後ろに以下を追加する.
if (Intent.Extras != null)
{
    foreach (var key in Intent.Extras.KeySet())
    {
        if(key!=null)
        {
            var value = Intent.Extras.GetString(key);
            Log.Debug(TAG, "Key: {0} Value: {1}", key, value);
        }
    }
}

IsPlayServicesAvailable();
CreateNotificationChannel();
MyFirebaseMessagingServiceクラスをAndroidプロジェクトに追加する.
以下のusingを追加する.
using Android.Util;
using Firebase.Messaging;
using Android.Support.V4.App;
using WindowsAzure.Messaging;
MyFirebaseMessagingServiceクラスは以下のように宣言する. Push通知をクラウド側から受け取った場合にこのクラス内のOnMessageReceivedメソッドが実行される.
[Service]
[IntentFilter(new[] { "com.google.firebase.MESSAGING_EVENT" })]
[IntentFilter(new[] { "com.google.firebase.INSTANCE_ID_EVENT" })]
public class MyFirebaseMessagingService : FirebaseMessagingService
{
...
}
MyFirebaseMessagingServiceクラス内に以下を追加.
Push通知を受け取った際の処理をOnMessageReceivedメソッド内に記述する.今回の例ではローカル通知に表示させている.
const string TAG = "MyFirebaseMsgService";
    NotificationHub hub;

    public override void OnMessageReceived(RemoteMessage message)
    {
        Log.Debug(TAG, "From: " + message.From);
        if (message.GetNotification() != null)
        {
            //These is how most messages will be received
            Log.Debug(TAG, "Notification Message Body: " + message.GetNotification().Body);
            SendNotification(message.GetNotification().Body);
        }
        else
        {
            //Only used for debugging payloads sent from the Azure portal
            SendNotification(message.Data.Values.First());

        }
    }

    void SendNotification(string messageBody)
    {
        var intent = new Intent(this, typeof(MainActivity));
        intent.AddFlags(ActivityFlags.ClearTop);
        var pendingIntent = PendingIntent.GetActivity(this, 0, intent, PendingIntentFlags.OneShot);

        var notificationBuilder = new NotificationCompat.Builder(this, MainActivity.CHANNEL_ID);

        notificationBuilder.SetContentTitle("FCM Message")
                    .SetSmallIcon(Resource.Drawable.ic_launcher)
                    .SetContentText(messageBody)
                    .SetAutoCancel(true)
                    .SetShowWhen(false)
                    .SetContentIntent(pendingIntent);

        var notificationManager = NotificationManager.FromContext(this);

        notificationManager.Notify(0, notificationBuilder.Build());
    }
さらにMyFirebaseMessagingServiceクラスに以下を追加する.
ここのnew NotificationHub(Constants.NotificationHubName, Constants.ListenConnectionString, this);でAzure Notification Hubs`に端末を登録している.
ということは,このコードが実行されるときにオンラインである必要があるな.
    public override void OnNewToken(string token)
    {
        Log.Debug(TAG, "FCM token: " + token);
        SendRegistrationToServer(token);
    }

    void SendRegistrationToServer(string token)
    {
        // Register with Notification Hubs
        hub = new NotificationHub(Constants.NotificationHubName,
                                    Constants.ListenConnectionString, this);

        var tags = new List<string>() { };
        var regID = hub.Register(token, tags.ToArray()).RegistrationId;

        Log.Debug(TAG, $"Successful registration of ID {regID}");
    }
プロジェクトをビルドする.
アプリを実行する.
Azure Notification Hubsからテスト送信する.
作成してあるNotification Hubリソースのページに移動し,左側のブレードからTest Sendを選択する.
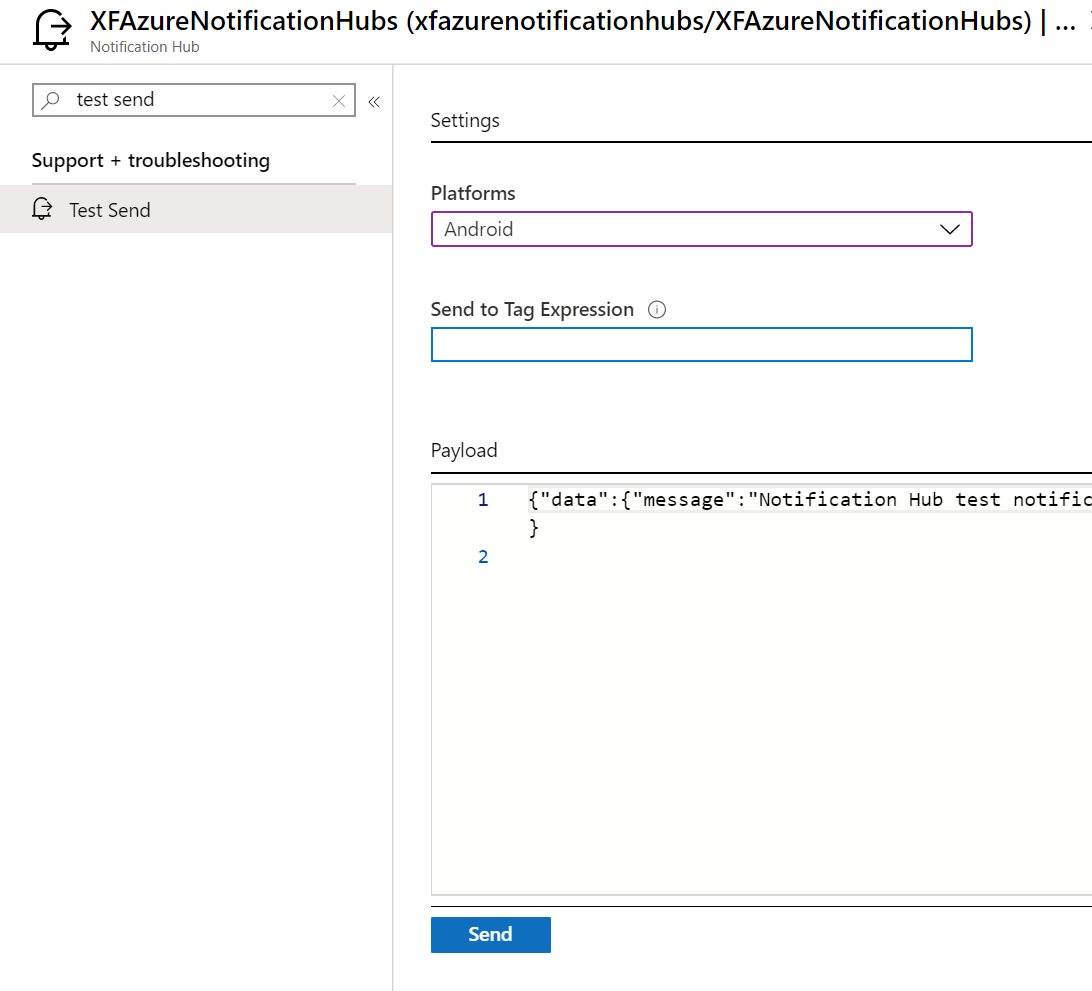
PlatformにAndroidを指定して,「Send」ボタンを押す.
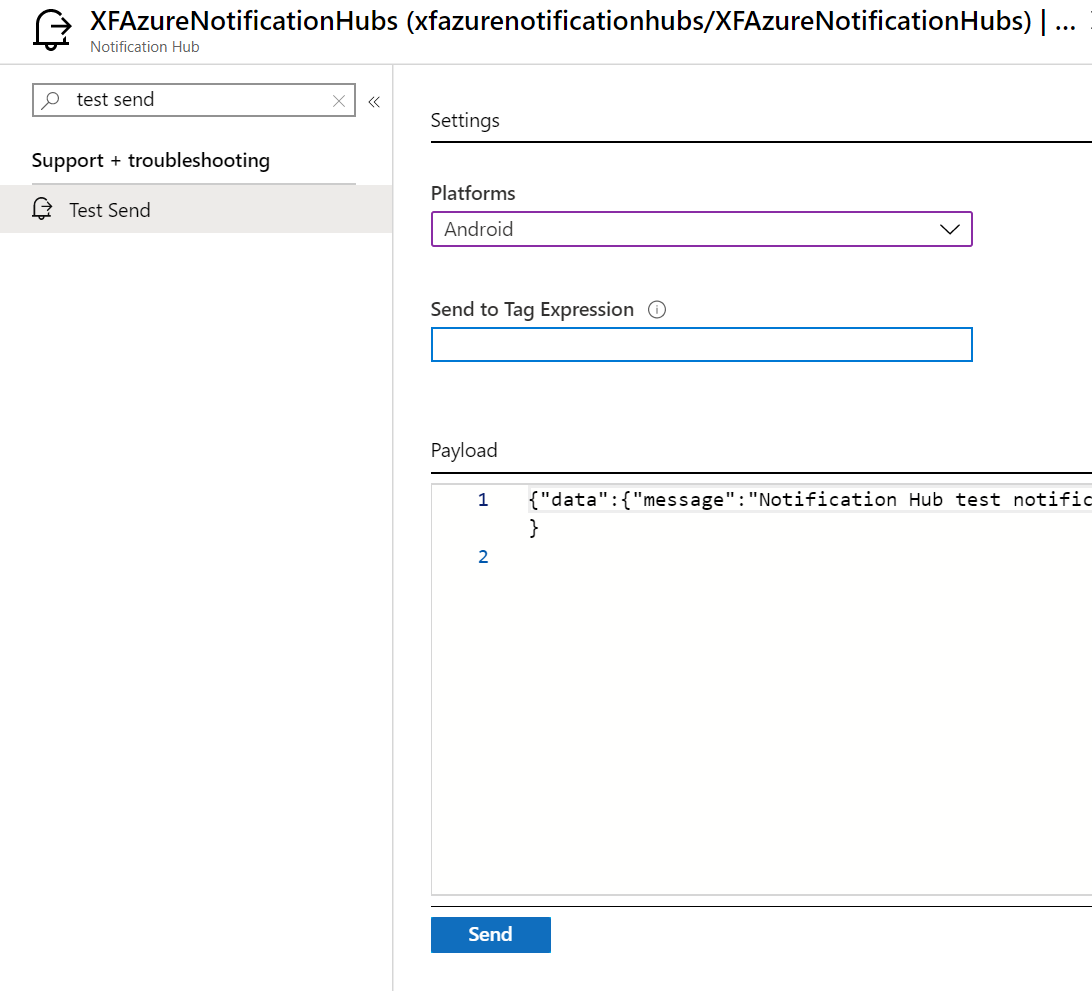
以下のメッセージが出れば送信成功.

少しすると実行中のアプリに以下のように通知が表示される.
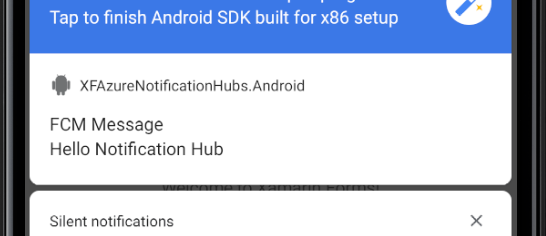
今回のソースコード
メモ
Firebase Cloud Messagingを介したメッセージの受信は,アプリが起動していなくても行われる.
一度でも起動すれば,アプリケーションがFCMを利用することが登録?されるので,例えば端末再起動後にアプリを起動しなくても通知を受信できる.
端末起動後,メッセージ受信までに1分程かかる感じ.
ASP.NETアプリから利用する
ASP.NETアプリからNotification Hubsを使ってPush通知を送ってみたくなりました.
こちらを参考にやってみます.
ASP .NET Core Web API with Azure Notification Hubdevislandblog.wordpress.com
上の記事ではWebAPIからNotification Hubsを利用していますが,渡しの場合は,Webアプリから使いたいと思います.
Webアプリ上のボタンを押すとランダムな応援メッセージが届くというものを作ってみたい.
まずはNotification Hubsに接続する情報を保持するクラスを作成.
    public static class NotificationHubConfiguration
    {
        public const string ConnectionString = "<DefaultFullSharedAccessSignature from Azure>";
        public const string NotificationHubName = "<Notification Hub Name from Azure>";
    }
次にappsettings.jsonに以下を追加します.
  "NotificationHub": {
    "ConnectionString": "<Endpoint...>",
    "HubName": "<DevIslandNotificationHub>"
  },
ここで,Connection Stringに使用するのはモバイルアプリのクライアント側とは異なりDefaultFullSharedAccessSignatureの方なので注意しましょう.

うーん,こっちの方がわかりやすいかな.
           NotificationHubClient _hub = NotificationHubClient.CreateClientFromConnectionString("<DefaultFullSharedAccessSignature from Azure>", "<Notification Hub Name from Azure>");

                string message = "Hello World.";
                var androidMessage = "{\"data\":{\"message\": \"" + message + "\"}}";
                await _hub.SendFcmNativeNotificationAsync(androidMessage);
iOS
持ってないのでわかりません.